

Ever had your video call stall just when you needed it most? It can really throw you off. A glitch during a telehealth visit feels like an unwelcome interruption.
Sometimes, things like a small screen, slow internet, or an old app can break the flow of your appointment. Next, we'll run through a few easy steps. First, check your device settings. Then, test your internet connection. Finally, make sure your software is up to date.
These simple tips can help keep your video calls smooth and stress-free. Have you ever noticed how a quick fix can make all the difference?
Pre-Session Checks for Smooth Video Consultations
Start by checking that your device has a big enough screen for a clear video call. Many adults have used telehealth in the past year. They say that using a laptop or tablet with a screen of 13 inches or larger makes a big difference compared to a smartphone. For instance, one person mentioned, "I switched from my phone to a tablet for my telehealth appointment, and the video was much clearer!"
Next, make sure your internet connection is strong. Run a quick test on Speedtest.net to see that your download speed is at least 5 Mbps and your upload is 2 Mbps. Think of it like checking your car’s fuel before a long drive, it helps you avoid any interruptions during your call.
Then, update and download your video consultation platform ahead of time. Whether you use Zoom, Doxy.me, or MyChart, doing this at least a day before your appointment can help you dodge any last-minute glitches. Someone once shared, "I always update my telehealth app the day before my appointment. It saved me from the hassle of app errors right when I needed to connect."
For more details, check out our pre-session checklist in the "Setup Tips for Success" guide: https://ourmobilehealth.com?p=setup_tips_for_success
Regularly checking your device, internet, and app settings fixes up to 90% of common issues. This routine eases your stress and boosts your confidence before your video consultation.
Diagnosing and Resolving Video Consultation Connectivity Problems
First, take a moment to notice if your video call seems choppy or frozen. This usually means that your internet might be weak or unstable. Try a quick speed test to see if your connection is fast enough. One user mentioned, "I noticed my call freezing and then learned that my download speed was too slow."
Next, check out your network setup. If you normally use Wi-Fi, consider switching to a wired Ethernet connection if you can. Wired setups are more stable and can reduce dropouts by nearly 70%. Also, rebooting your modem can give your system a fresh start when things get bogged down.
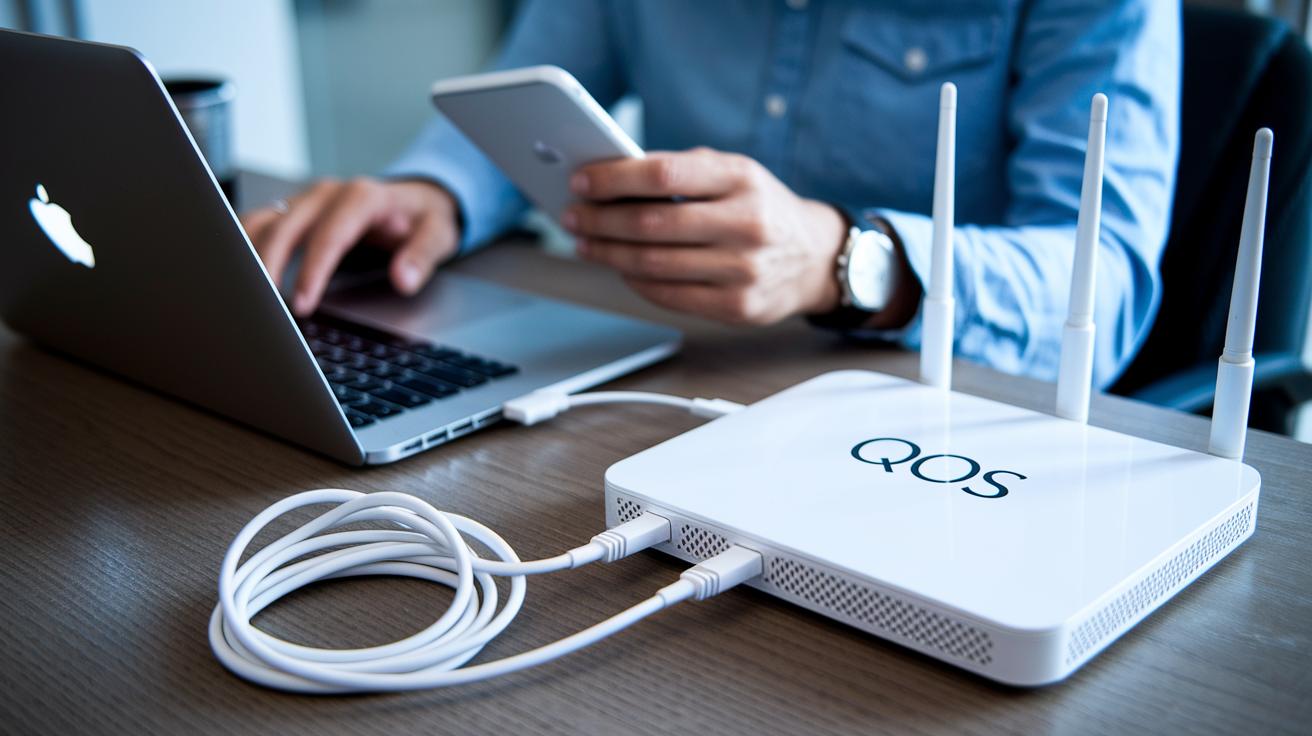
Then, look at your router settings. Sometimes, the settings aren’t tuned for smooth video calls. A small change, like turning on Quality of Service (QoS) if your router offers it, can help manage your bandwidth better. This simple change gives your video call traffic priority, almost like a VIP pass through your network.
If you're using a VPN, try turning it off just for your call. VPNs can send your data through extra stops, which might slow things down. Disabling it for your consultation can sometimes clear up the connectivity issues.
- Test your connection speed regularly
- Switch from Wi-Fi to Ethernet for a steadier connection
- Reboot your modem when you notice frequent dropouts
- Adjust router settings to give video call data priority
- Temporarily disable VPN if it seems to slow your connection
| Setup | Stability | Reliability |
|---|---|---|
| Wi-Fi | Moderate | Prone to dropouts |
| Ethernet | High | Consistent |
Tweaking these factors can really help prevent your session from dropping out and keep your consultation running smoothly.
Troubleshooting Video Consultation Video Quality Issues
Sometimes your video might look choppy or grainy during a consultation. If your internet upload speed is slow or your connection has jitter, you could see your conversation freeze or your image turn blocky. Have you ever been chatting and suddenly the video stops working? In those moments, running a quick speed test can help spot the issue. A simple fix might be to move closer to your router or restart your device, which can clear things up.
Next, double-check your camera settings. Make sure your video consultation app and your computer's settings are on the same page. Occasionally, the virtual camera might not show up because the app and your device settings don't match. One user mentioned, "I discovered my virtual camera was off because I hadn’t allowed access in my OS settings." Taking a moment to review these settings ensures you’re using the right camera. You might also need to update your camera drivers so they work with the latest features and run smoothly.
Also, it helps to close other video-heavy programs running in the background. When too many apps are using your video resources, even a good camera can underperform. Try playing around with your lens settings in your device’s options to make sure everything is clear.
| Step | Action |
|---|---|
| 1 | Check your app’s camera settings and your device’s permissions |
| 2 | Update your camera drivers if newer versions are available |
| 3 | Close other applications that use video or heavy processing |
| 4 | Adjust your lens settings for the best clarity |
Tweaking these elements can bring your video back to life, giving you a clear, smooth, and uninterrupted stream for your consultation.
Fixing Audio Glitches During Video Consultations

When you run into audio issues on your video call, don’t worry – fixing them is usually pretty simple. First, check if your microphone is muted. Look around for that familiar icon with a line through it; it’s easy to miss. I’ve heard someone say, “I nearly missed my consultation because my mic was accidentally muted!” So, that small icon might be your first clue.
Next, test both your built-in mic and any external ones you might use. Think of it like trying two different flavors – one might just work better than the other. If your built-in mic struggles when the network is slow, try switching to an external one.
Sometimes, having more than one microphone active in a room can cause an echo. The trick is to stick with just one mic per session, which helps keep your audio clear. Many video call apps also have noise-reduction tools. Make sure to turn on any echo-cancellation features to get rid of background sounds.
- Double-check the microphone icon and your app settings
- Test both built-in and external mics to see which works best
- Stick to one active microphone to avoid echo
- Use the app’s noise reduction features to quiet background noises
A little bit of troubleshooting goes a long way in keeping your call sound crisp and clear.
Handling App and Platform Errors in Video Consultations
When you have trouble logging in or see error messages, it might be because you're using the wrong meeting link or you missed installing the needed software. Many users have found that updating the app and checking that your device’s system is current can clear these issues. I remember someone saying, "I fixed my access problem simply by reinstalling the app and making sure my OS was up to date."
If error notices pop up, they might be asking for camera or microphone permissions or flagging an outdated security certificate. It’s a good idea to quickly check your device settings. Sometimes, just clearing the app’s cache and force-quitting to relaunch it will sort out temporary glitches.
- Verify you have the correct meeting link and necessary software installed
- Update your app to match your device’s system requirements
- Clear your cache and force-quit the app before relaunching
- Review your device settings for camera/mic permissions and security certificates
Following these steps can quickly fix common issues so your video consultation stays on track.
Advanced Debugging Techniques for Video Consultation Interruptions

If your video consultations are acting up, it might be time for some hands-on fixes. Start by running a network test. This tool checks for packet loss (when bits of data get lost on the way) and measures latency (how long the data takes to travel). It’s a bit like when your car’s check engine light turns on. For instance, if you see about a 5% packet loss, that’s a sign your video quality is in trouble.
Next, take a look at your router settings. You can set quality of service (QoS) rules that push your video consultation data ahead of other internet traffic. This means your video packets get through even on a busy network, making your session smoother and less choppy.
Then, check the log files and error codes. Look closely for any error that keeps coming up. One IT expert mentioned, "I tracked down a disconnect issue to a specific error in our logs and adjusted the proxy settings to fix it." Adjusting proxy settings, and syncing devices in multi-host setups, can also help keep your video running strong.
| Action | Purpose |
|---|---|
| Run network diagnostics | Measure latency and spot packet loss |
| Configure router QoS | Prioritize video consultation traffic |
| Review log files | Find errors causing repeated disconnects |
| Modify proxy settings and sync devices | Stabilize connections across multiple hosts |
These hands-on steps can really empower you to tackle those annoying video disruptions. Ever notice how a simple tweak can make all the difference? Give these tips a try and get back to smooth, uninterrupted consultations.
Preventive Best Practices for Future Video Consultations
A little planning goes a long way. Before you jump into your video call, having a quick checklist can save you from annoying interruptions, it can even cut them by about 75%. First, check that your device is updated and your app runs smoothly. Keeping your software current and scheduling regular maintenance helps avoid those pesky glitches. I mean, who doesn’t love a smooth session? One user once shared, “Regular updates have really rescued me from last-minute troubles.”
It also helps to have a backup plan. Keep a phone-in option or a spare device handy, like a spare tire for your car. That way, if your main device fails, you’re not left stranded.
And don’t forget about live support. Knowing there’s a friendly expert ready to help can really put your mind at ease. Imagine a quick call that gets you back online when you need it most.
Here are some simple tips to add to your prevention plan:
- Have a clear pre-session checklist.
- Make sure your software is always up to date.
- Keep a backup device or phone-in option ready.
- Rely on live technical help when needed.
For more tips on keeping your video calls smooth and secure, check out the "Secure Video Consultation Practices" guide. It’s all about having a plan that keeps your calls running without a hitch.
Final Words
In the action, the blog post walked through essential pre-session checks, easy fixes for connectivity, clear steps for video quality issues, and simple tips for resolving audio glitches. It also covered how to tackle app errors and offered advanced debugging tips. The guide reminded us that keeping your gear updated and having a backup plan makes a big difference. Stay positive and keep optimizing your digital health experience. Here’s to confident video consultation troubleshooting common technical issues.
FAQ
Q: Why did my telehealth session or Simple Practice not load properly or work today?
A: The issue of a telehealth session not loading usually points to a brief glitch. Refreshing the page, checking your internet connection, and verifying app updates often resolve these common errors.
Q: What are common problems with video conferencing and how can I fix them?
A: Video conferencing challenges frequently involve choppy video, muted audio, or dropped connections. Testing your network speed, reviewing device settings, and updating the software are effective steps to restore smooth communication.
Q: What are the five basic troubleshooting phases for technical issues?
A: Troubleshooting technical issues follows key phases: identifying the problem, isolating the cause, applying a fix, testing the solution, and confirming resolution. This systematic method ensures that issues are efficiently addressed.